Welcome to the ultimate guide for mastering the art of creating exquisite caramelized onions. Often heralded as a secret ingredient by top chefs, these savory-sweet gems can elevate a simple dish to gourmet status. Forget the notion that perfectly caramelized onions are difficult or daunting; our Test Kitchen has demystified the process, boiling it down to a foolproof, four-step method that promises rich, deep flavor every time. Get ready to transform humble onions into a culinary powerhouse, ideal for enhancing everything from juicy burgers to sophisticated French onion soup.
The Irresistible Allure of Perfectly Caramelized Onions
There's a reason caramelized onions are a staple in so many beloved recipes: they bring an unparalleled depth of flavor. This isn't just about cooking onions until they're soft; it's about unlocking a profound savory-sweetness that can only be achieved through a specific transformation. The process of caramelization involves heating the natural sugars present in vegetables and fruits, causing them to break down and undergo a chemical reaction that results in a gorgeous golden-brown hue and an intensely concentrated, complex flavor profile. Onions, particularly sweet varieties, are prime candidates for this magical metamorphosis due to their abundant natural sugar content. Cooked slowly in a fat of choice, these humble alliums shed their pungent bite, emerging as tender, glistening strands of pure culinary gold.
Why Caramelization Transforms Onions
At its heart, caramelization is a non-enzymatic browning reaction that significantly alters the taste, aroma, and color of foods. When you cook onions over low heat, the water content slowly evaporates, concentrating the sugars. As the temperature rises and the sugars reach their caramelization point, they begin to break down into hundreds of new flavor compounds. This process shifts their character from raw and sharp to mellow, buttery, and profoundly sweet with subtle savory undertones. Unlike simply sautéing, which aims for translucency and light cooking, true caramelization is a patient endeavor that rewards you with an incredibly rich and versatile ingredient, far removed from its original state.
Selecting Your Star Ingredient: The Best Onions for Caramelizing
While nearly any onion can be caramelized, choosing the right variety sets the stage for success. Our Test Kitchen recommends leaning into the naturally higher sugar content of sweet onions. These varieties are known for their juicy texture and mild, less pungent flavor, which makes them ideal for developing that coveted sweet depth during the caramelization process. Popular sweet onion varieties include:
- Vidalia Onions: Famous for their sweetness and low sulfur content, grown exclusively in Georgia.
- Maui Onions: Tender and exceptionally sweet, cultivated in the volcanic soil of Maui.
- Walla Walla Onions: Large, juicy, and very sweet, originating from Washington State.
While sweet onions are preferred, don't shy away from using common yellow onions if that's what you have on hand. They will still caramelize beautifully, albeit potentially requiring a touch longer to reach the same level of sweetness. Red onions can also be caramelized, offering a slightly bolder flavor and a beautiful reddish-purple hue, perfect for specific dishes where their color would shine.
Test Kitchen's Masterclass: Caramelize Onions in 4 Simple Steps
Ready to unlock the secret to restaurant-quality caramelized onions? Our Test Kitchen's tried-and-true method ensures perfection with minimal fuss, transforming a seemingly complex task into an achievable culinary triumph. Follow these four crucial steps for results that will impress every time.
Step 1: Precision Prep – Peeling and Slicing Your Onions
Preparation is key to even cooking and consistent results. For roughly 4 to 6 servings (about ⅓ cup each), begin with two large onions. First, peel away and discard the papery outer layers. Then, using a sharp chef's knife, cut the onions into uniform slices or ¾-inch chunks. Consistency is paramount here; irregularly sized pieces will cook at different rates, leading to some burnt and some undercooked onions. Thin, even slices are generally recommended as they break down more easily and provide that classic delicate texture, but chunks work well for heartier dishes where you want more bite.
- Quantity: Two large onions yield a generous amount after cooking down significantly.
- Sharp Knife: Essential for clean, even cuts and safety.
- Uniformity: Strive for consistent thickness to ensure even caramelization.
Step 2: Setting the Stage – Melting Fat and Loading the Skillet
The choice of cooking fat plays a vital role in the final flavor. Our Test Kitchen highly recommends using 2 tablespoons of butter for its unrivaled richness and depth of flavor, which perfectly complements the natural sweetness of the onions. Melt the butter in a large, heavy-bottomed skillet over medium-low heat. Once the butter is melted and slightly shimmering, add your prepped onion slices. Don't worry if the skillet seems incredibly full; the onions will shrink considerably as they cook down and release their moisture. If you're doubling the recipe or your skillet is truly overflowing, consider using two skillets to prevent overcrowding, which can lead to steaming rather than caramelizing.
- Butter for Richness: Provides a superior, decadent flavor profile.
- Fat Alternatives: If dairy is an issue, olive oil, margarine, or a blend of olive oil and butter can also be used effectively.
- Skillet Size: A large, wide skillet allows for better heat distribution and evaporation.
Step 3: The Patience Principle – Slow Sauté for Tenderness
This is where the magic truly begins and patience becomes your most valuable ingredient. Cover the skillet and cook the onions over medium-low heat for approximately 13 to 15 minutes, or until the slices are noticeably tender. During this phase, occasional stirring will prevent sticking and promote even cooking. The "low and slow" approach is critical; it allows the onions to gradually release their natural juices, softening their fibrous structure without browning prematurely. This slow, gentle heat breaks down the cell walls, ensuring the onions become uniformly soft and perfectly primed for the final caramelization stage. For an even deeper dive into this crucial step, read our guide on The Secret to Sweet Onions: Master Low & Slow Caramelization.
- Covering the Skillet: Helps to trap steam initially, tenderizing the onions more quickly.
- Medium-Low Heat: Crucial for gentle cooking; avoid rushing this step.
- Occasional Stirring: Prevents sticking and ensures all onions get some direct heat.
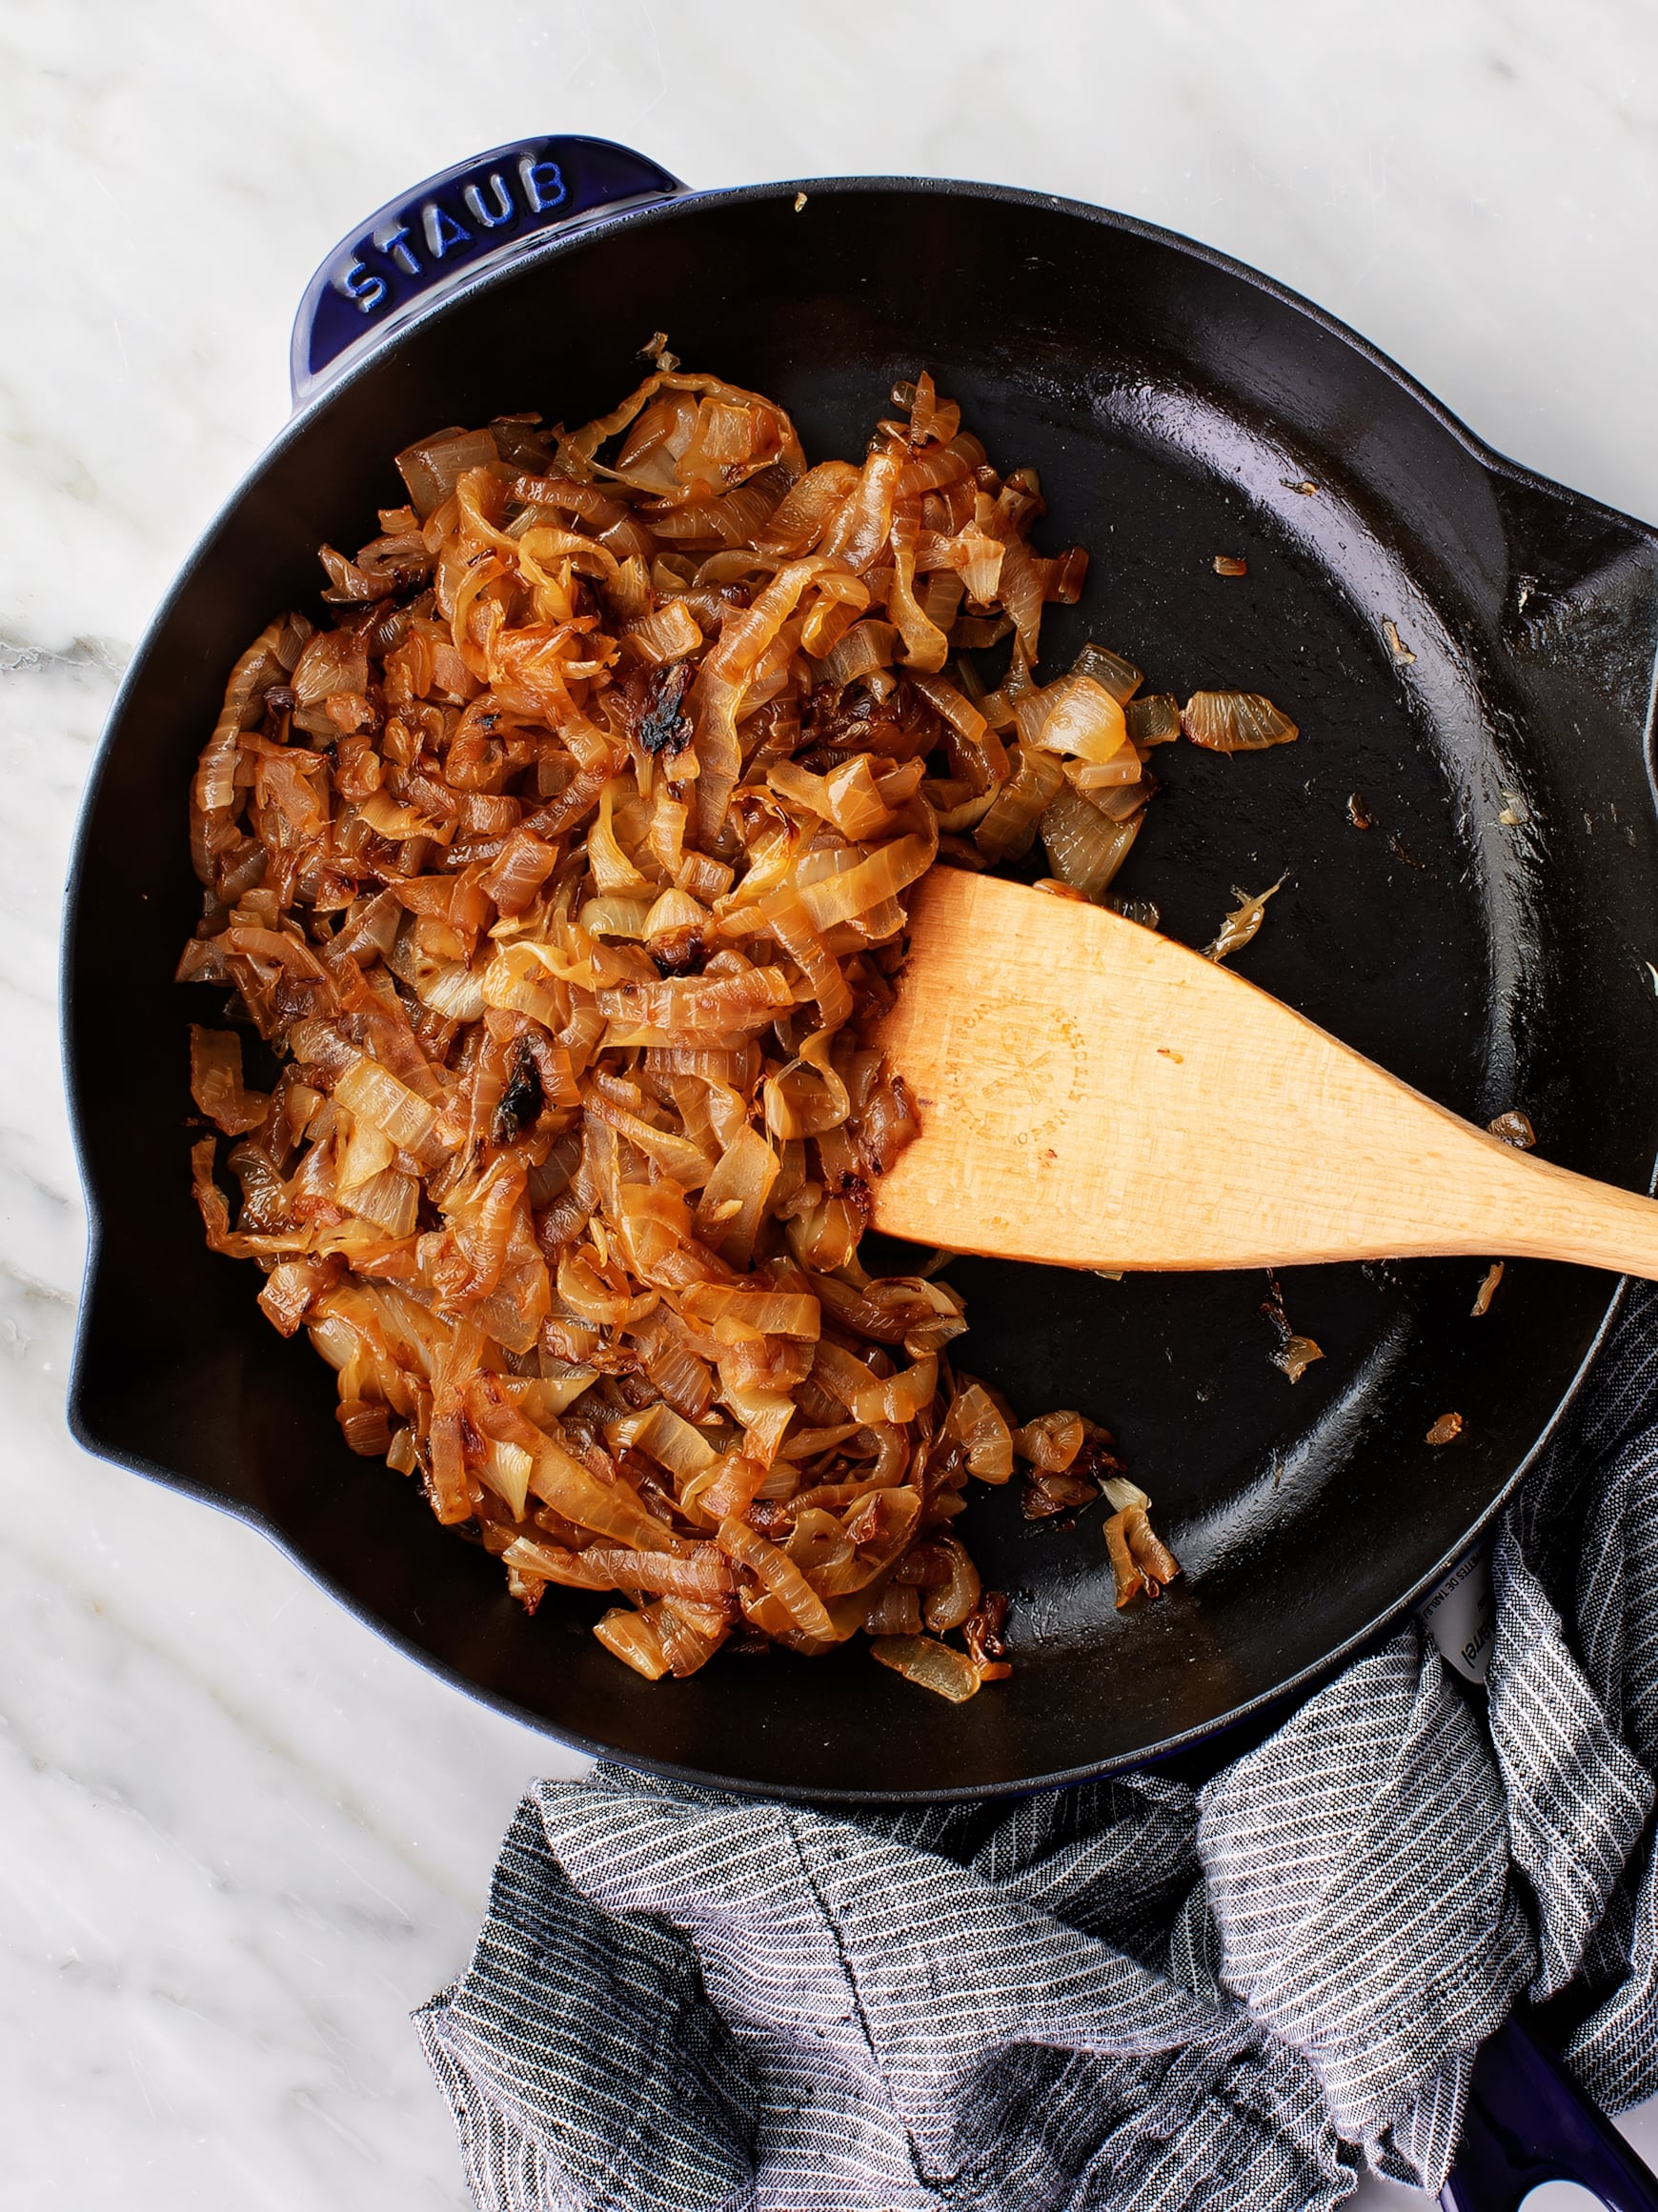
Step 4: The Grand Finale – Achieving Golden Brown Perfection
Once the onions are tender and translucent, it's time to uncover the skillet and turn up the heat to medium-high. This final stage is all about achieving that signature golden-brown color and intense flavor. The increased heat will cause the sugars that have been released to caramelize rapidly, transforming the onions into their desired state. Cook, stirring constantly, for 3 to 5 minutes. Watch them carefully, as they can go from perfectly golden to burnt in a flash. The goal is a deep, rich caramel color with a glistening, jam-like consistency – the unmistakable hallmark of perfectly caramelized onions.
- Increase Heat: Facilitates rapid caramelization of the concentrated sugars.
- Constant Stirring: Prevents scorching and promotes even browning across all onion strands.
- Visual Cues: Look for a deep amber hue and a slightly sticky texture.
Expert Tips for Flawless Caramelized Onions Every Time
Beyond the four core steps, a few additional tricks from the Test Kitchen can help ensure your caramelized onions are consistently stellar:
- Don't Rush It: Patience is truly a virtue here. The entire process, from start to finish, can take 20-30 minutes, sometimes even longer depending on the onion type and quantity. Resisting the urge to crank up the heat prematurely is key to success.
- Deglazing: If bits start sticking to the bottom of the pan, add a tablespoon or two of water, broth, or even a splash of wine. Scrape up the browned bits – this is called deglazing, and those bits are packed with flavor!
- Seasoning: Add salt and pepper towards the end of the cooking process. Adding salt too early can draw out too much moisture too quickly, hindering caramelization, and it's easier to adjust seasoning once the flavors have concentrated.
- Batch Cooking & Storage: Make a larger batch! Caramelized onions store beautifully in an airtight container in the refrigerator for up to 5-7 days, or they can be frozen for several months, making them a fantastic meal prep component.
- Sugar Boost (Optional): For an extra layer of sweetness or to speed up browning slightly (though not truly caramelizing), a pinch of granulated sugar can be added during the final browning stage. Our Test Kitchen typically finds this unnecessary with sweet onions and proper technique.
Beyond the Skillet: Delicious Uses for Your Caramelized Onions
Once you’ve mastered the art of making caramelized onions, a world of culinary possibilities opens up. Their unique savory-sweet profile makes them incredibly versatile. You might be tempted to eat them straight from the pan, and we wouldn't blame you! But for those seeking inspiration, here are some delightful ways to incorporate these golden strands into your cooking:
- Burger & Sandwich Topping: Spoon them generously atop grilled burgers, hot dogs, or gourmet sandwiches for an instant upgrade.
- Appetizer Brilliance: Transform simple bruschetta, crostini, or even a warmed wheel of Brie cheese into elegant appetizers.
- Savory Tarts & Pizzas: Use them as a base or topping for quiches, galettes, flatbreads, or homemade pizzas, often paired with goat cheese or Gruyère.
- Soups & Stews: They are the non-negotiable star of classic French onion soup, lending profound depth and body. They also enhance beef stews and hearty vegetable soups.
- Side Dish Enhancer: Stir them into mashed potatoes, macaroni and cheese, rice pilafs, or roasted vegetables for a boost of complex flavor.
- Meat Accompaniment: Serve alongside grilled steaks, roasted chicken, pork chops, or lamb for a truly gourmet pairing.
- Dips & Spreads: Blend them into creamy dips or spreads for a sophisticated snack.
For more creative and inspiring ways to utilize this versatile ingredient, be sure to check out our dedicated article: Unlock Rich Flavor: Uses for Perfectly Caramelized Onions.
Mastering caramelized onions is a culinary skill that pays dividends in flavor. While it requires a bit of patience, our Test Kitchen's 4-step guide simplifies the process, making it accessible to any home cook. Embrace the low and slow method, enjoy the aromatic journey, and savor the reward of incredibly flavorful, versatile onions that will elevate countless dishes. So, grab your skillet, pick your onions, and get ready to create a truly delicious transformation in your kitchen!
